Iron On Patches are Easy and Fast
Ironing on custom patches is easier than you think. Just follow these simple tips.
Rick Cundiff
Every once in a while, we like to review some product basics here on the blog. Today’s review is a simple one that many people ask us for – how to iron on a custom patch. It’s a breeze to do, with the right preparation.
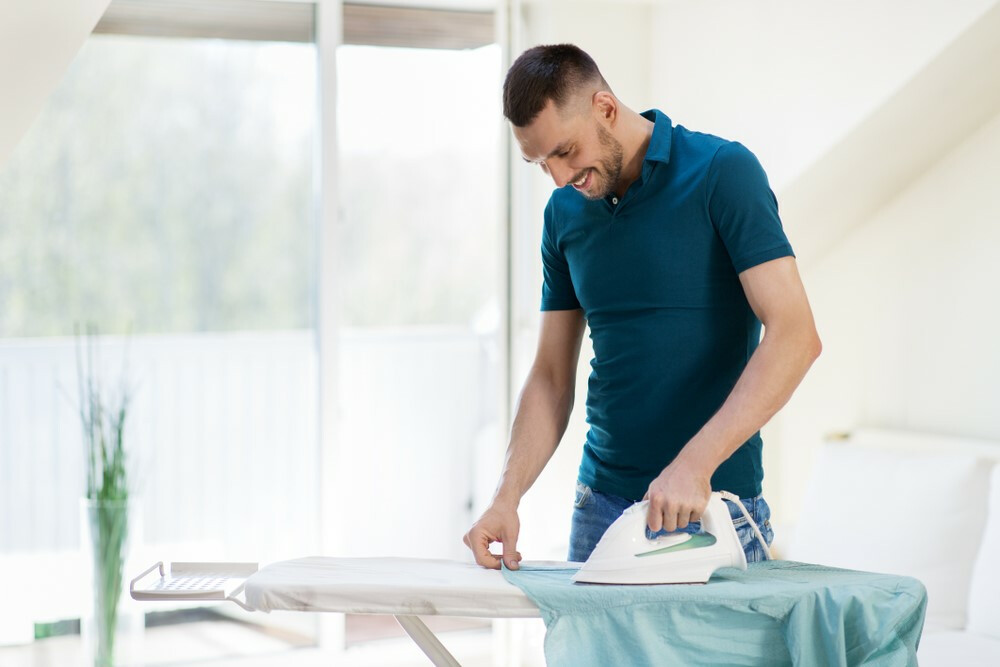
Iron on patches are the fastest, easiest way to attach custom patches to a jacket, vest, cap or other cloth material. Just position your patch, apply a little heat and you’re all set.
There are just a couple of things to keep in mind, but it really is that easy. Follow these easy steps and that new denim jacket will be good to go with new patches before you know it.
About that denim – that’s pretty close to a perfect material for iron on patches. It can take enough heat to melt the adhesive on the patch backing and create a strong bond.
Some other materials are not suitable for iron on patches. Avoid trying to use iron on patches on leather, vinyl, nylon, rayon, waterproof rainwear, silk or lace. Those materials will require sew on patches or another attachment method.
Just keep in mind cotton, polyester or poly/cotton blends are your best bets for iron on patches and you’ll be fine.
Also be aware when ordering your patches. Embroidered and woven patches are perfect for iron on applications. PVC patches on the other hand, can’t take the heat. They’re great for sewing on, though.
Iron On Basics
OK, now that you have the right patches and the right material, how do you attach a patch?
Start by laying your garment on a flat, smooth, heat-resistant surface. We recommend laundering and ironing the garment before you start to eliminate wrinkles that can affect the patch appearance.
Position your patch exactly where you want it on the garment. Then lay a thin towel or washcloth over the patch. Don’t apply heat directly to the patch itself.
Set your iron to the highest setting your fabric can take. Be sure the steam setting is OFF. Place the iron over the covered patch and press down firmly. Hold it in place for 15 to 20 seconds. Don’t move it back and forth, just press down.
Next, remove the iron, and carefully remove the towel or washcloth. Try to lift the edge of the patch. If it doesn’t lift, you’re good to go. If it does, replace the cloth and press the iron over it for another 10 seconds.
Once the patch is set, all you have to do is let it cool for a few minutes. Then you’re ready to show your style to the world.
That’s all there is to it. You’ve ironed on a patch! We think they’re kinda like potato chips – you can’t have just one.
So what are you waiting for? Turn that great design idea you have into great looking patches and iron ‘em on! Email us, call or fill out our no-obligation free quote form, and we’ll get started making your patches today!

Rick Cundiff
Content Director, Blogger
Rick Cundiff spent 15 years as a newspaper journalist before joining TJM Promos. He has been researching and writing about promotional products for more than 10 years. He believes in the Oxford comma, eradicating the word "utilize," and Santa Claus.