
How To Iron On Patches
You just received your fancy new iron-on patches in the mail, and now you’re wondering just how to attach them to your garment. Well, wonder no more! Here’s...

Mark Anderson
You just received your fancy new iron-on patches in the mail, and now you’re wondering just how to attach them to your garment.
Well, wonder no more! Here’s a step-by-step guide to how to iron on your brand new patch(es).
Iron-On Patch Styles
Multiple patch styles can be made with iron-on backing. Each has unique properties. The most popular patch types include:
- Embroidered patches: These patches are made with thread embroidered onto a twill backing fabric. They’re the most common patch style, often used for club and organization logos, military patches, and more.
- Woven patches: These patches are woven rather than embroidered. They use a thinner thread, and as a result, can feature more detailed and precise images and text.
- Printed patches: These patches print the design onto the backing material and can include great detail and a wide range of vibrant colors.
- Name patches: These can be any of the above patch styles. They’re simply patches with a person's name on them, often used on uniforms, bags, and other items that need identification.
Important Note: PVC patches and leather patches cannot be ironed on. Trying to do so will damage the patch, and possibly the garment. These patch styles need to be sewn on or attached with Velcro® fasteners instead.
How To Iron On a Patch: A Step-By-Step Guide
Applying iron-on patches is a fast, easy process that you can do at home. We’ll walk you through the steps to applying your patches and caring for the finished garment.
Prepare the Fabric
Before you begin to apply the patch, wash and iron the fabric. A clean, wrinkle-free finish will help the patch adhere properly. It’s also important to note that iron-on backing works best on natural fabrics such as cotton or denim, or a polyester/cotton blend.
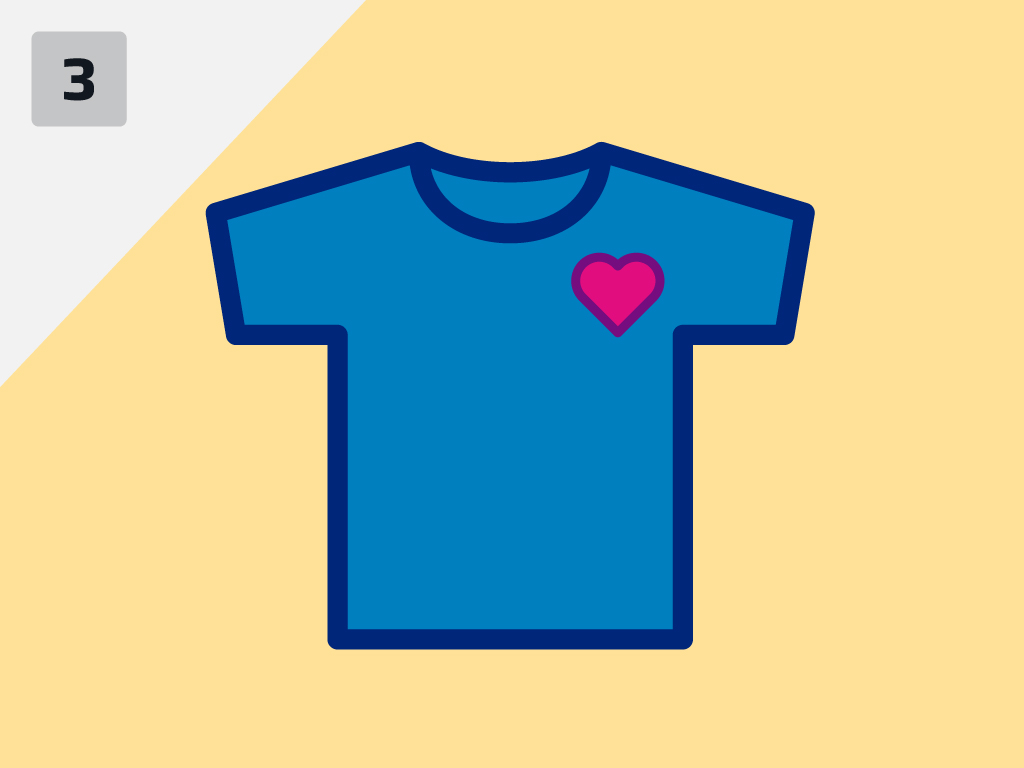
Patch Placement
Next, place the patch face-up in the desired location on the garment. Not sure where it would look best? Here are a few suggestions:
- Shirts: Typically, these are placed 7-9 inches down from the left shoulder seam, between the center and side seam, or 4-6 inches to the right of center. Avoid placing it below the armpit.
- Jackets, pants, and shorts: Consider grouping multiple patches in one area, or ironing on several patches in a trail down the sleeves or legs. Use your imagination.
- Bags: Feel free to place patches anywhere. Just keep the locations of straps, handles, zippers or seams in mind.
- Hats: Front and center is the most popular location, about half an inch from the bottom. Check the measurements of your patch to ensure it's no more than 5 inches wide by 2.5 inches high. The best size for hat patches is generally 2 inches by 2 inches, perfect for the front, back, or sides of hats.
Applying the Patch: 8 Easy Steps
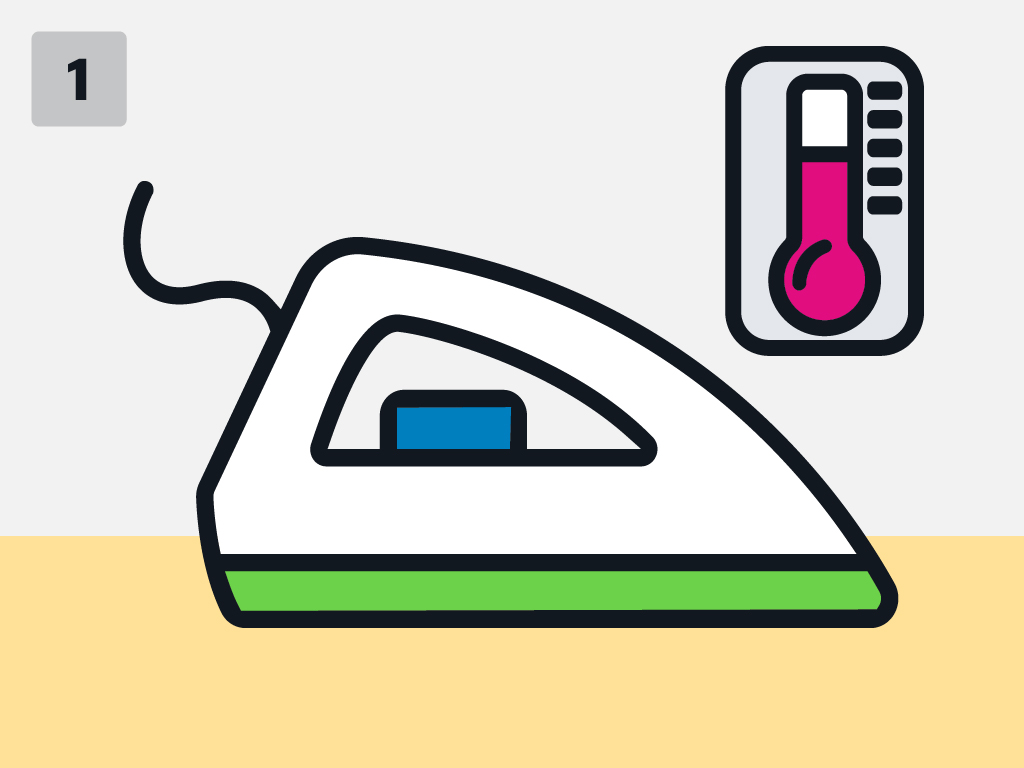
1. Set your iron to the appropriate heat setting for the type of fabric and the patch. We usually recommend medium-high, but this will vary depending on the fabric and type of patch you are applying. DO NOT use the steam setting, and be sure there’s no water in the iron.
2. Lay the garment on a solid, heat-resistant surface. Don’t use a padded ironing board, because it may not allow strong adhesion. Consider using a wooden cutting board or stone countertop as an alternative. Be sure to put a towel under the garment to protect the surface from heat.
3. Place the patch in the fabric in the proper position.
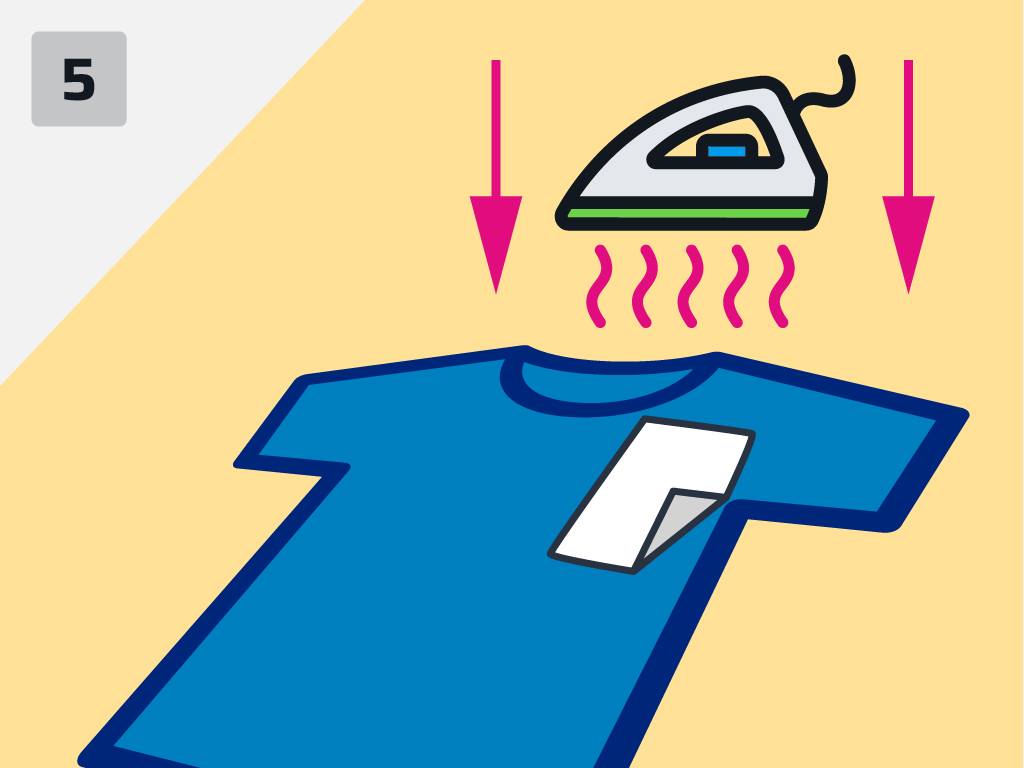
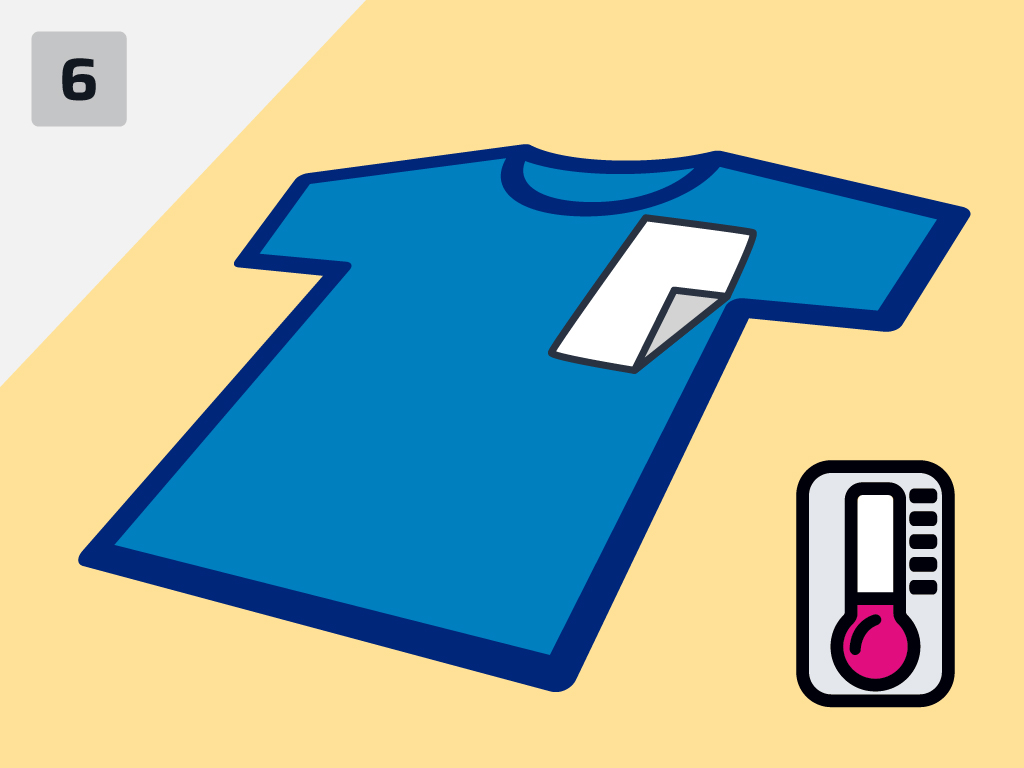
4. Place a piece of parchment paper or light press cloth over the patch.

5. Apply firm, consistent pressure – straight down – with the iron for about 30 to 35 seconds. Do not move the iron.
6. Allow the patch to cool for a minute or two, then remove the parchment or press cloth.
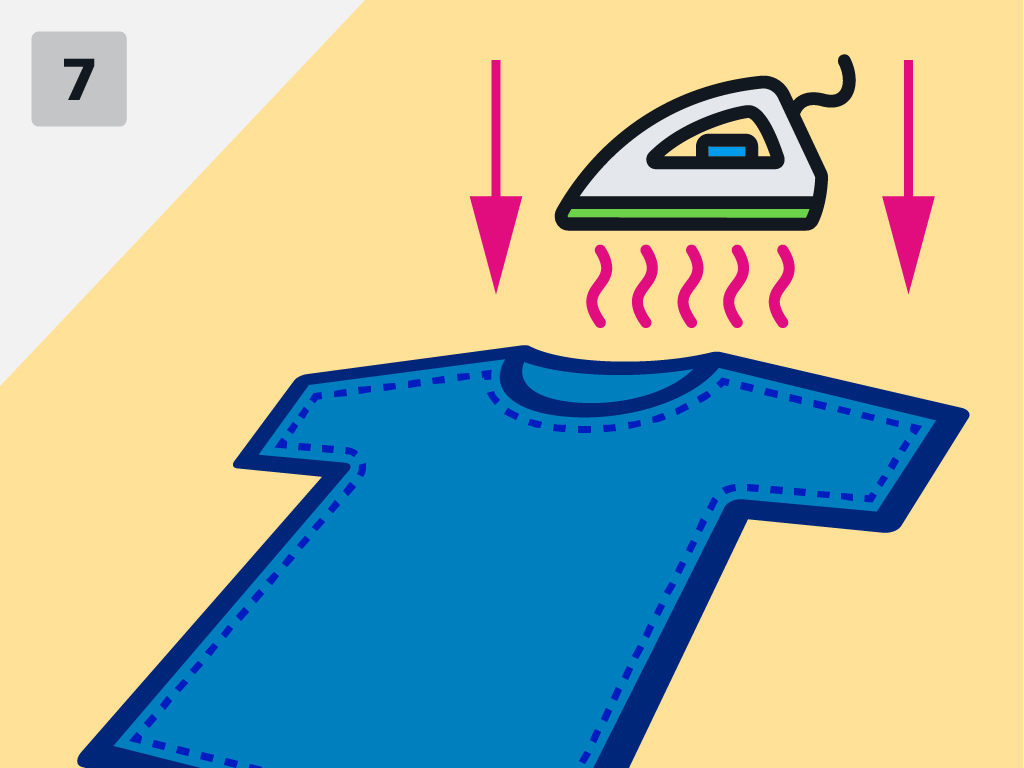
7. Turn the garment inside-out and repeat the process on the back side of the patch for about 30 seconds. Remember to apply constant, firm pressure.
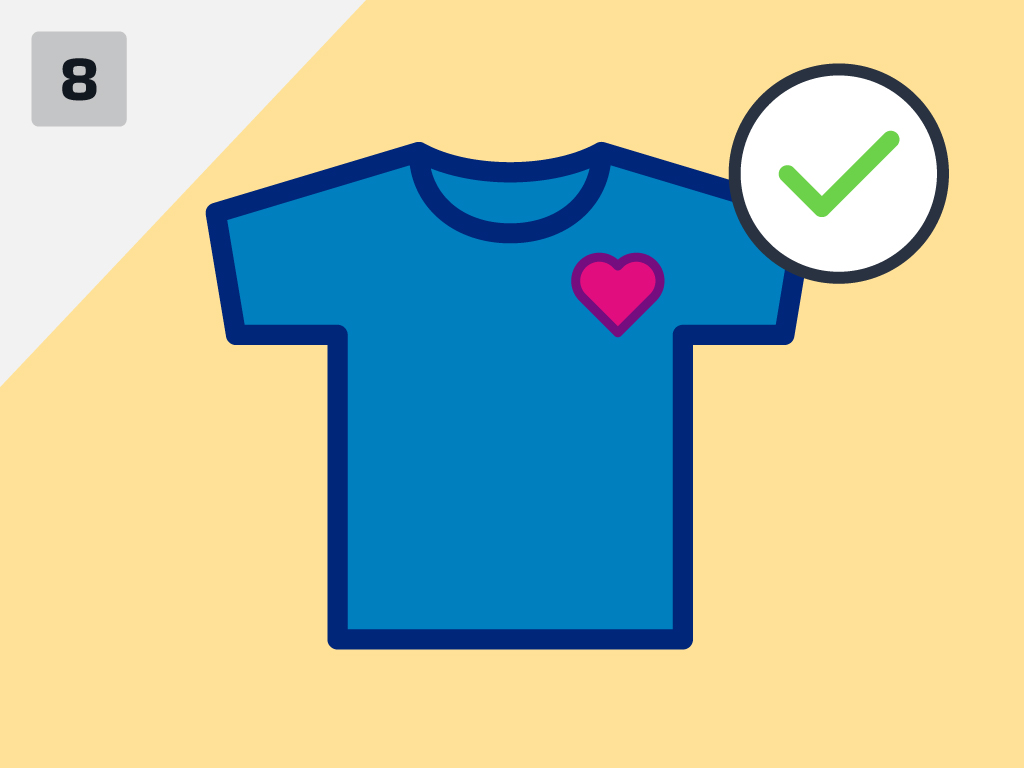
8. Remove the iron and check gently to see if the backing has adhered securely to the garment. Let the patch cool down completely before handling further, to ensure the heat-set backing is secure. If necessary, repeat steps 4 through 7 to ensure secure adhesion.
Caring for Your Patched Item
Proper care of your patched item will help the patch last as long as possible. Follow these simple steps to ensure a long patch life:
- Wait 48 hours before washing the garment to ensure the heat seal is fully set. We recommend hand-washing.
- To protect both the patch and your garment, turn it inside-out when washing.
- We recommend washing in cold water. Avoid washing the item in hot water or putting it in the dryer.
- If needed, iron the patched area on a low heat setting, and always use a press cloth.
- If you want to ensure a permanent installation, you can always sew on your patch.
There you have it! Now you know how to iron on your new patches in no time at all. See? We told you it was easy.
Have tips or questions? Let us know at the email address below.
Interested in ordering your own custom iron-on patches or other custom patches? Send us an email at [email protected], give us a call at 1-800-423-0449, or fill out our free quote form!